Installation using Docker
Basic Setup
Here is an example docker-compose.yml file for a simple installation of BlackLab and BlackLab Frontend that will let you explore the application.
Create the
docker-compose.ymlfile
Place the following file in a directory of your choice. Data will be stored in adatadirectory in the same location as thedocker-compose.ymlfile. The compose file contains a basic configuration for BlackLab that enables a test user, so you can play around with the application without having to set up a proxy or authentication.yml# Run a basic docker container for quick testing or exploring the BlackLab Frontend services: frontend: image: instituutnederlandsetaal/blacklab-frontend:dev build: context: .. dockerfile: docker/frontend-bls.dockerfile args: BLACKLAB_IMAGE_VERSION: dev ports: - "8080:8080" # frontend and BLS will both be available on 8080 volumes: - ./data/index:/data/index - ./data/user-index:/data/user-index - ./data/index-configs:/etc/blacklab/projectconfigs configs: - source: blacklab-server target: /etc/blacklab/blacklab-server.yaml mode: 0444 # read-only for the container configs: blacklab-server: content: | --- # https://blacklab.ivdnt.org/server/configuration.html authentication: system: class: AuthDebugFixed userId: test_user indexLocations: - /data/index userIndexes: /data/user-index parameters: processHits: default: -1 max: -1 countHits: default: -1 max: -1 pageSize: max: -1Run Docker Compose
This will start the servicebashdocker-compose up -dAccess the Application
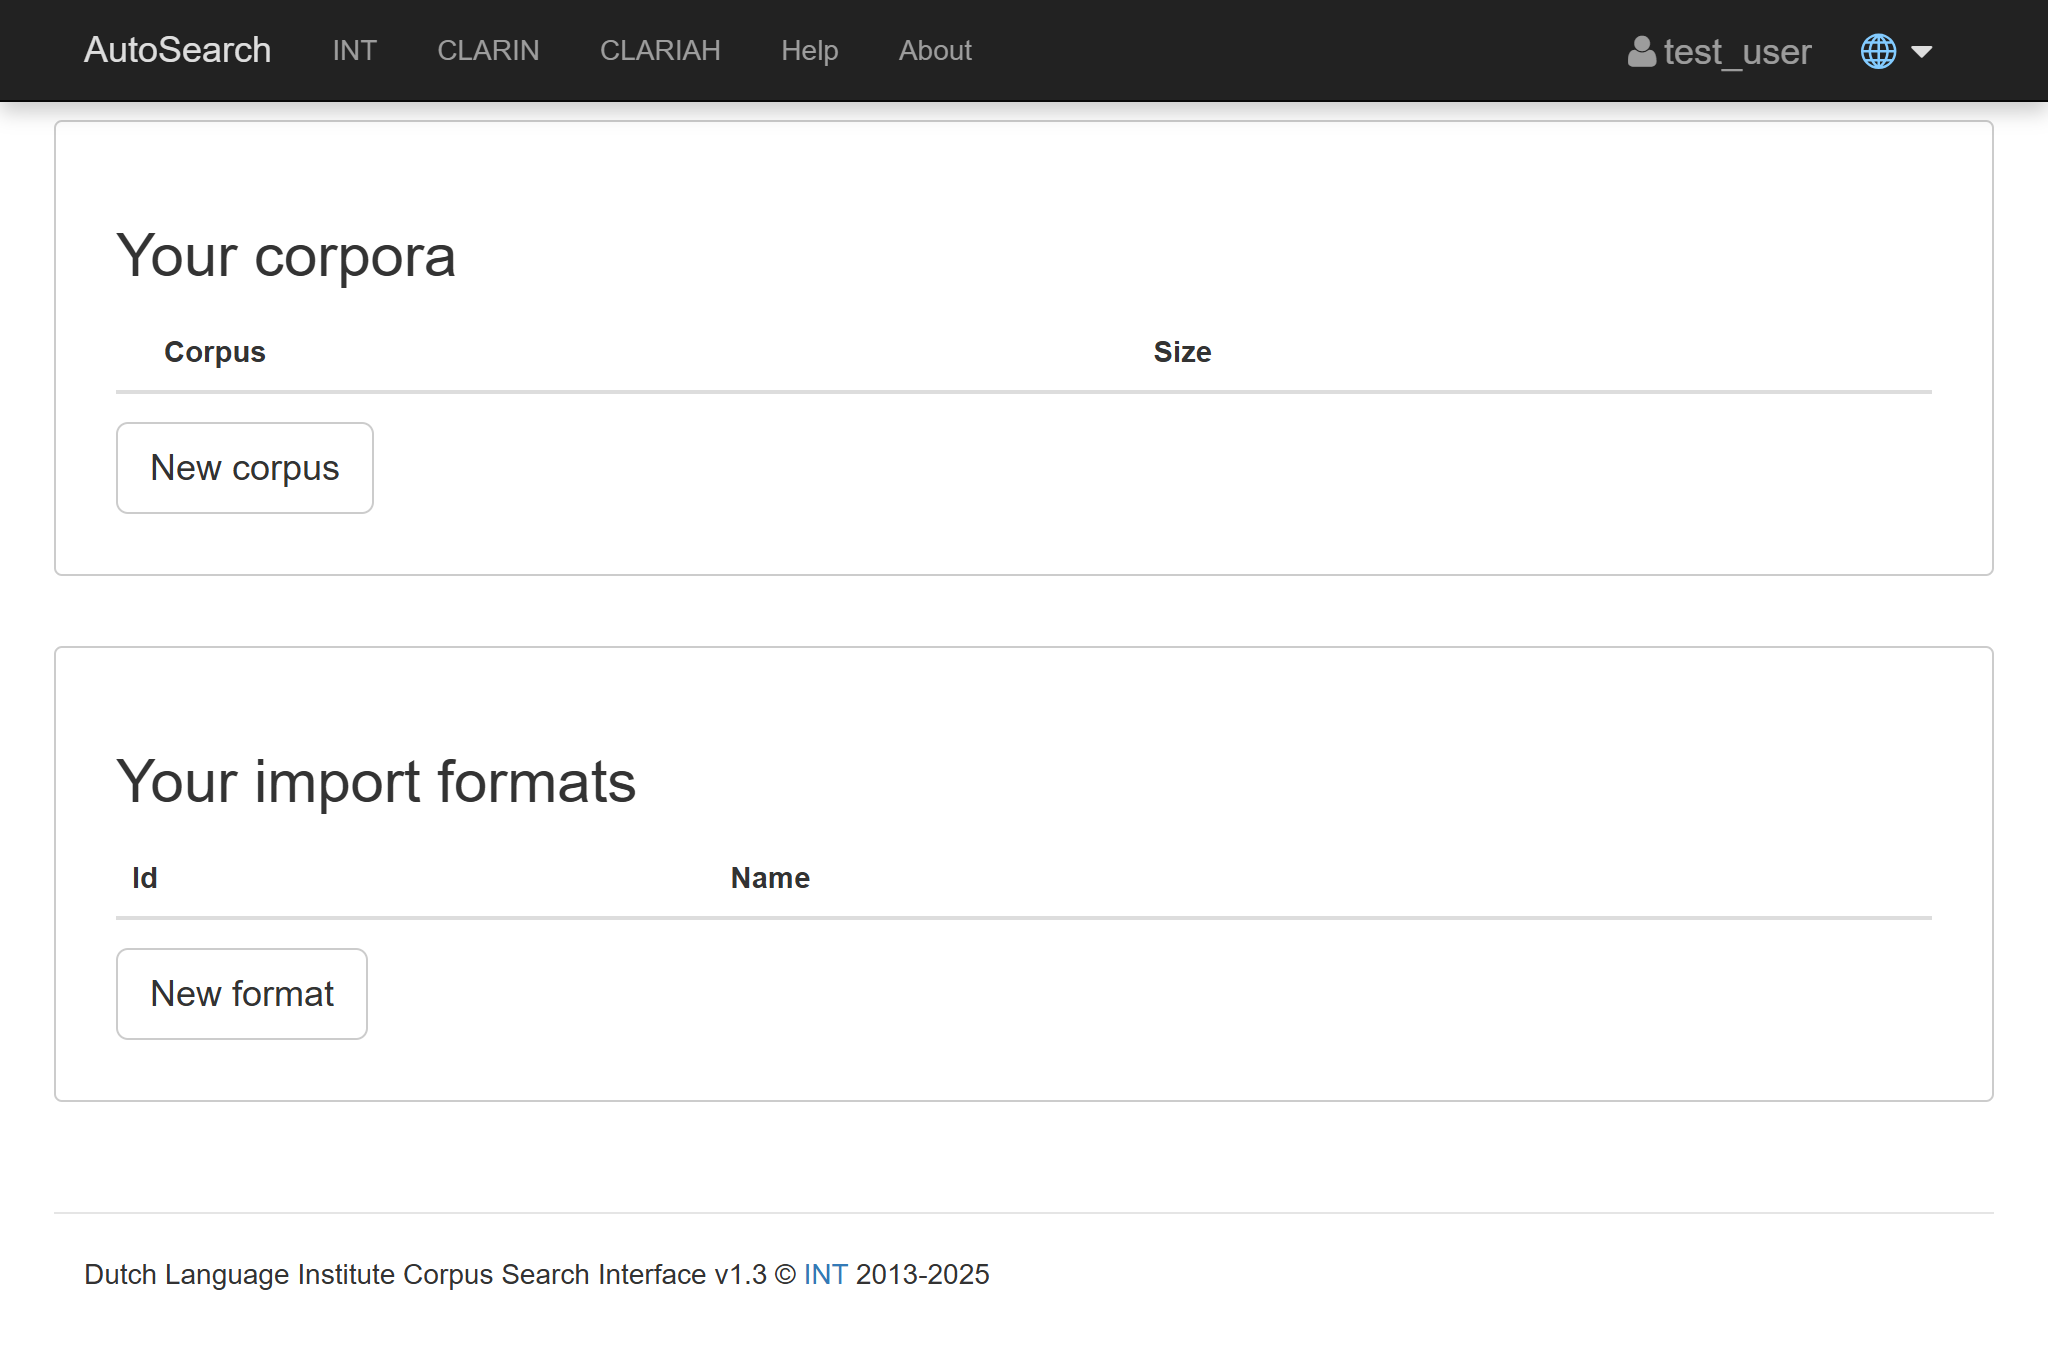
- The BlackLab Frontendis now available at http://localhost:8080/blacklab-frontend/
- The BlackLab-Server API is now available at http://localhost:8080/blacklab-server/
You should now be presented with options for uploading data.
Since there are no public corpora available (we didn't add any!), you will see a page with options to upload data.
Production setup
For production use, there are two things you could consider:
Without upload functionality
Create a real config
Copy the default blacklab-server.yaml file from thedocker-composedirectory into ablacklab-server.yamlfile.blacklab/├─
docker-compose.yml└─
data/├─
index├─
user-index├─
index-configs└─
blacklab-server.yaml<--- hereUpdate
docker-compose.ymlto mount the config you just created:This will disable authentication and make everyone be anonymous, and since uploads are disabled if you're not logged in, this will effectively disable uploads. Now you can add some public corpora, which anyone can access without needing to log in.
yamlvolumes: - ./data/index:/data/index - ./data/user-index:/data/user-index - ./data/index-configs:/etc/blacklab/projectconfigs - ./blacklab-server.yaml:/etc/blacklab/blacklab-server.yaml configs: - source: blacklab-server target: /etc/blacklab/blacklab-server.yaml mode: 0444 # read-only for the containerRestart the service
bashdocker compose up -dAdd some public corpora
Since you just disabled uploads, users will see the following - rather boring - page:
With individual user accounts & uploads
ℹ️ BlackLab relies on external software for user registration and login.
BlackLab relies on external software such as proxies to implement user authentication, using a forwarded header or request attribute (such as remote-user) to know who is logged in.
The BlackLab Frontend in turn relies on BlackLab, so you should only need to configure BlackLab (and your proxy).
In the first example, we forced BlackLab to use a test user, just so that you can play around with the upload functionality. If you want to use BlackLab in a production environment, you will need to set up a proxy that can authenticate users and forward the user ID to BlackLab.
👤 This tutorial details how to set up a proxy that can integrate with Microsoft, Google, Facebook, etc.
For a more technical explanation, consult the BlackLab docs.